IN THIS ARTICLE
Setting up Atom Renderer
Get started with Atom Renderer through Open 3D Engine (O3DE) by creating a new O3DE project or building Atom Sample Viewer, Atom’s standalone application.
Prerequisites
Before setting up a new O3DE project or Atom Sample Viewer, you must install O3DE on your computer. Follow the instructions in Set up Open 3D Engine in the Get Started Guide.
O3DE project
Creating an O3DE project provides you the full suite of O3DE tools, including O3DE Editor, Material Editor, and a collection of Gems essential to building a simulation or game. This is a great way to test out Atom’s features among other objects and mechanics in a level.

Setup
Follow the instructions in Project Creation in the Get Started guide. After creating an O3DE project, you have access to Atom via the Atom Gem. This is a core Gem that’s built into O3DE and enabled in your project by default.
After you set up your project, check out the following pages to explore Atom’s features via O3DE Editor:
- Create a Level : An introduction to your first level. Whenever you create a level in your project, the default environment consists of many Atom components.
- Component Reference – Atom : The full list of Atom components that the Atom Gem provides.
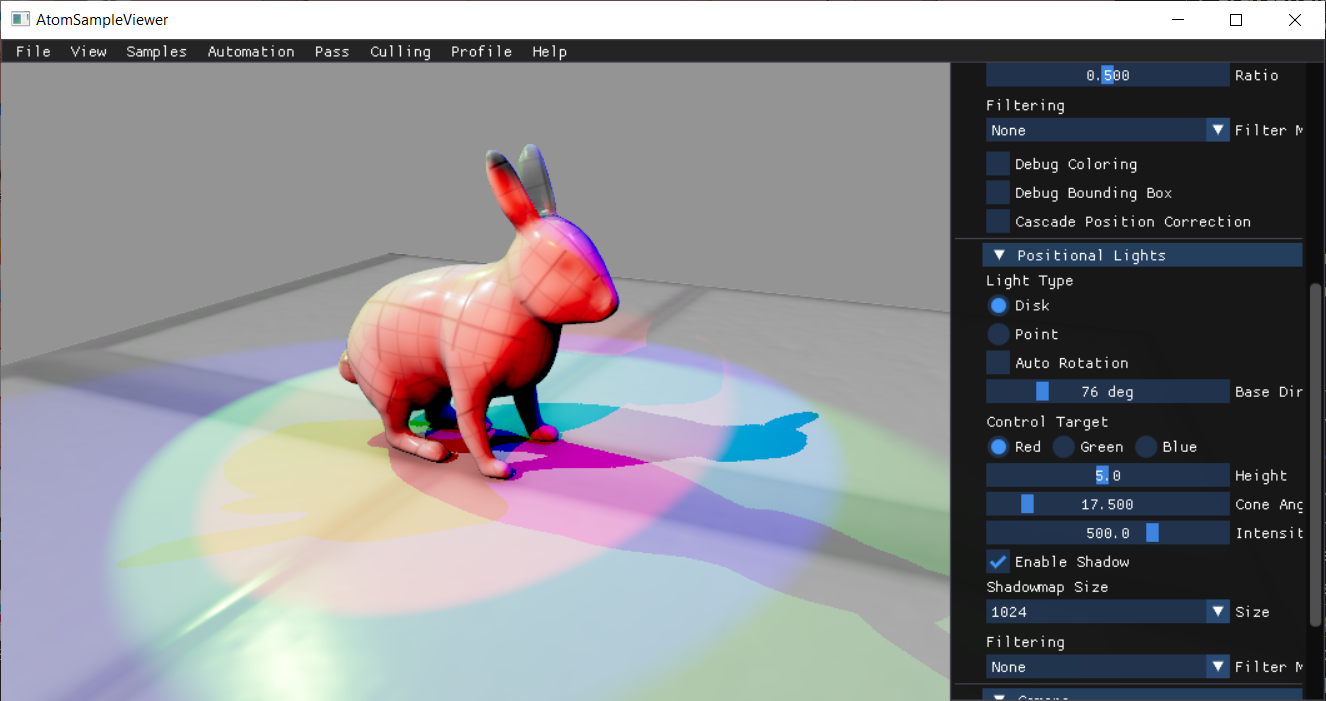
Atom Sample Viewer
Atom Sample Viewer is a good place to start if you’re interested in evaluating Atom’s features in a controlled environment. It’s a standalone application, so you don’t need to open it with O3DE Editor. It showcases samples that demonstrate each feature individually with parameters you can tweak and configure.
Setup
In a command line window, clone the
o3de-atom-sampleviewerrepository onto your local machine.git clone https://github.com/o3de/o3de-atom-sampleviewer.gitUpdate your local repository by pulling the the latest changes, if any.
git pull origin mainUse CMake to generate a Visual Studio solution. In the next step, you build the Atom project using this solution.
cmake -B build/windows -S . -G "Visual Studio 16" -DLY_3RDPARTY_PATH=C:/o3de-packagesNote:UseVisual Studio 16as the generator for Visual Studio 2019, andVisual Studio 17for Visual Studio 2022. For a complete list of common generators for each supported platform, refer to Configuring projects in the User Guide.Use CMake to build
AtomSampleViewerStandalone. Specify theprofileconfiguration for your build.cmake --build build/windows --target AtomSampleViewerStandalone --config profile -- -m
When the project is done building, you can find the build files in the directory o3de-atom-sampleviewer/build/bin/profile/. From there, you can launch AtomSampleViewerStandalone.exe.